Switch to script mode to build custom columns in the integrated development environment (IDE). To do this, click the Script Mode button from the Custom Column designer.
Once in script mode, build your custom column formula by adding the required custom column functions, hierarchies, and elements, or simply type your formula using PQL.
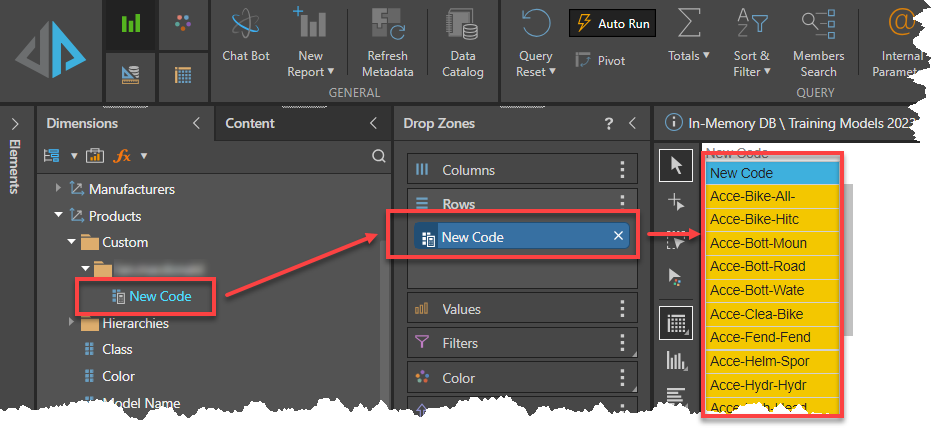
Follow the example below to learn how to build a custom column that creates a new product code by taking the first four characters from the Product Category, Product Subcategory and Product names, inserting a hyphen between the values.
Step-by-step example
Before you begin
Open the Custom Column Editor through the Formulate App and select the Model you want to use to create the new custom column and click Script Mode in the Ribbon.
Step 1
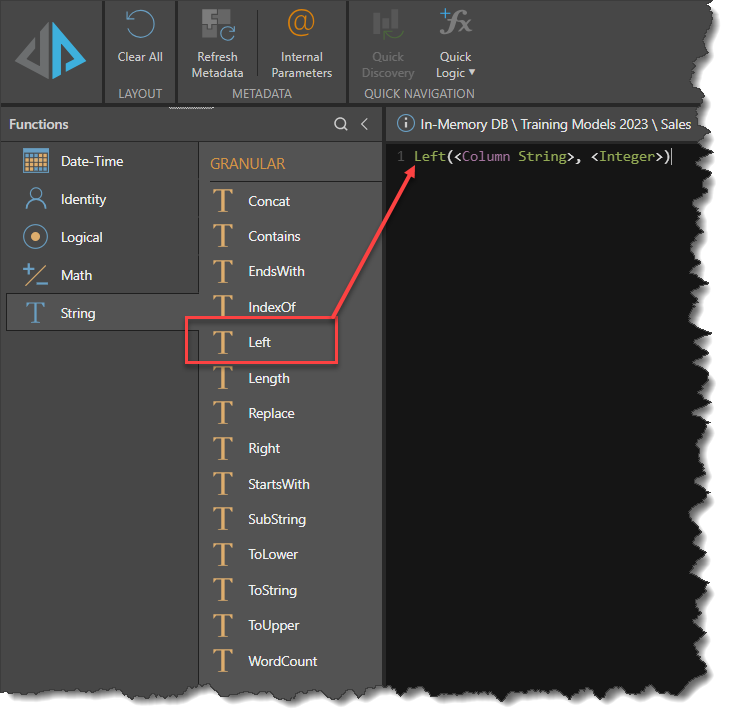
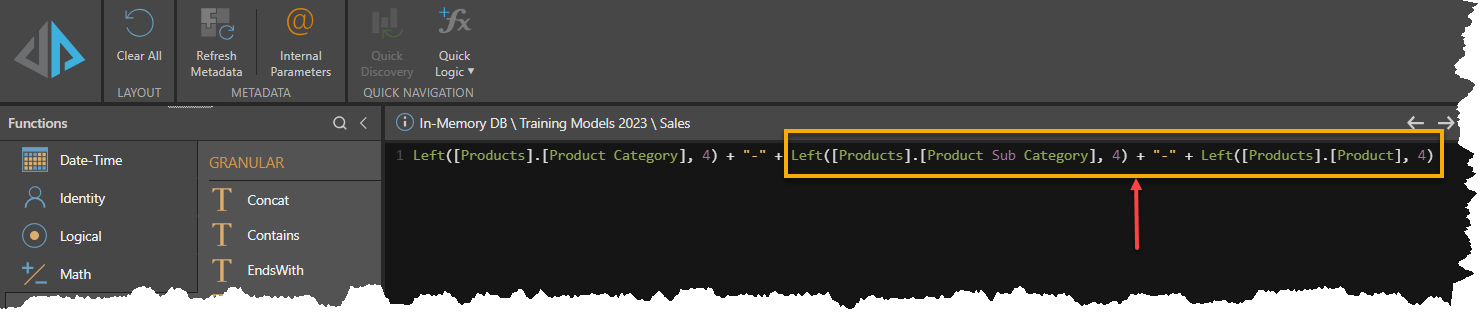
Find the LEFT() function in STRING function group in the Tool-Panel and either double click or drag it into the text editor window.
Step 2
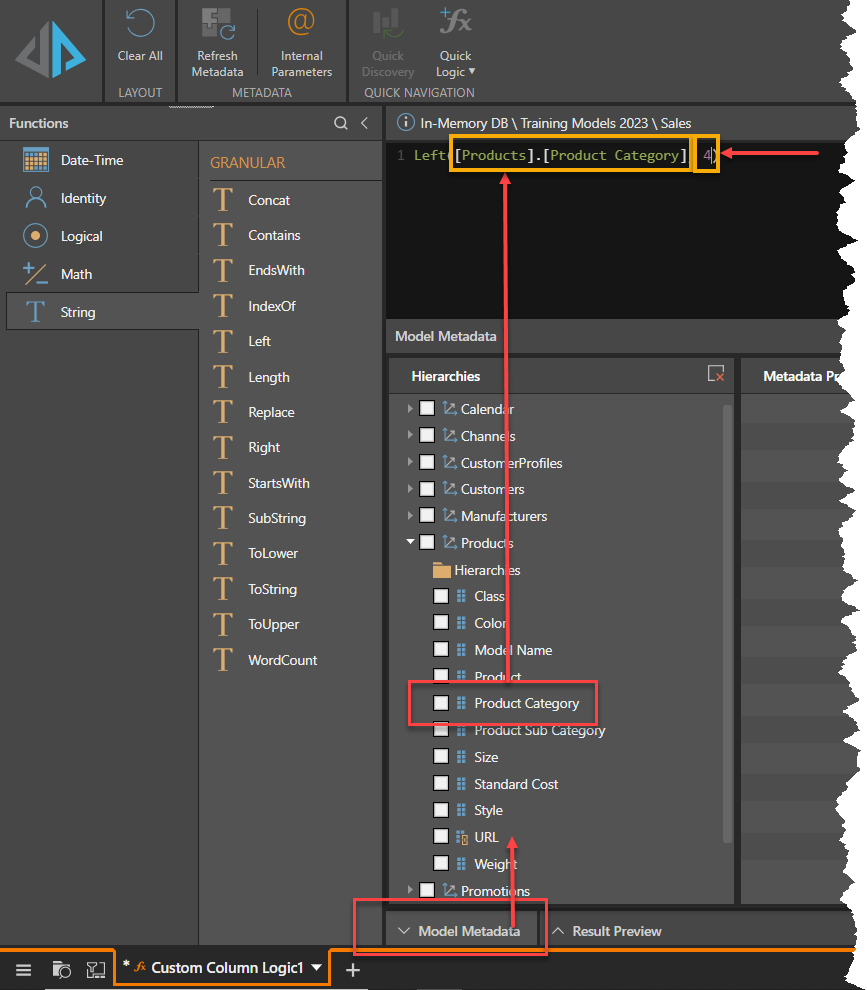
Click on the Model Attributes Panel button at the bottom of the screen. This will reveal the Model Dimension Tables. Open the table required. Delete or highlight the LEFT() function argument <Column String> and double click on the table column required, in this case [Product Category]. Replace the <Integer> argument with the number of characters to take form the beginning of the [Product Category] column value.
Step 3
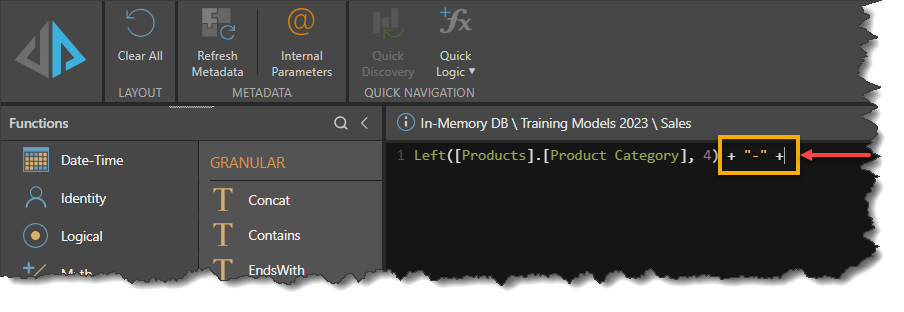
Type in and operator and other text required. In this case the character "-" is to be inserted between the four character codes.
Step 4
Repeat the previous steps, adding the LEFT() function for [Product Sub Category] and [Product]. separated by the "-" character.
Step 5
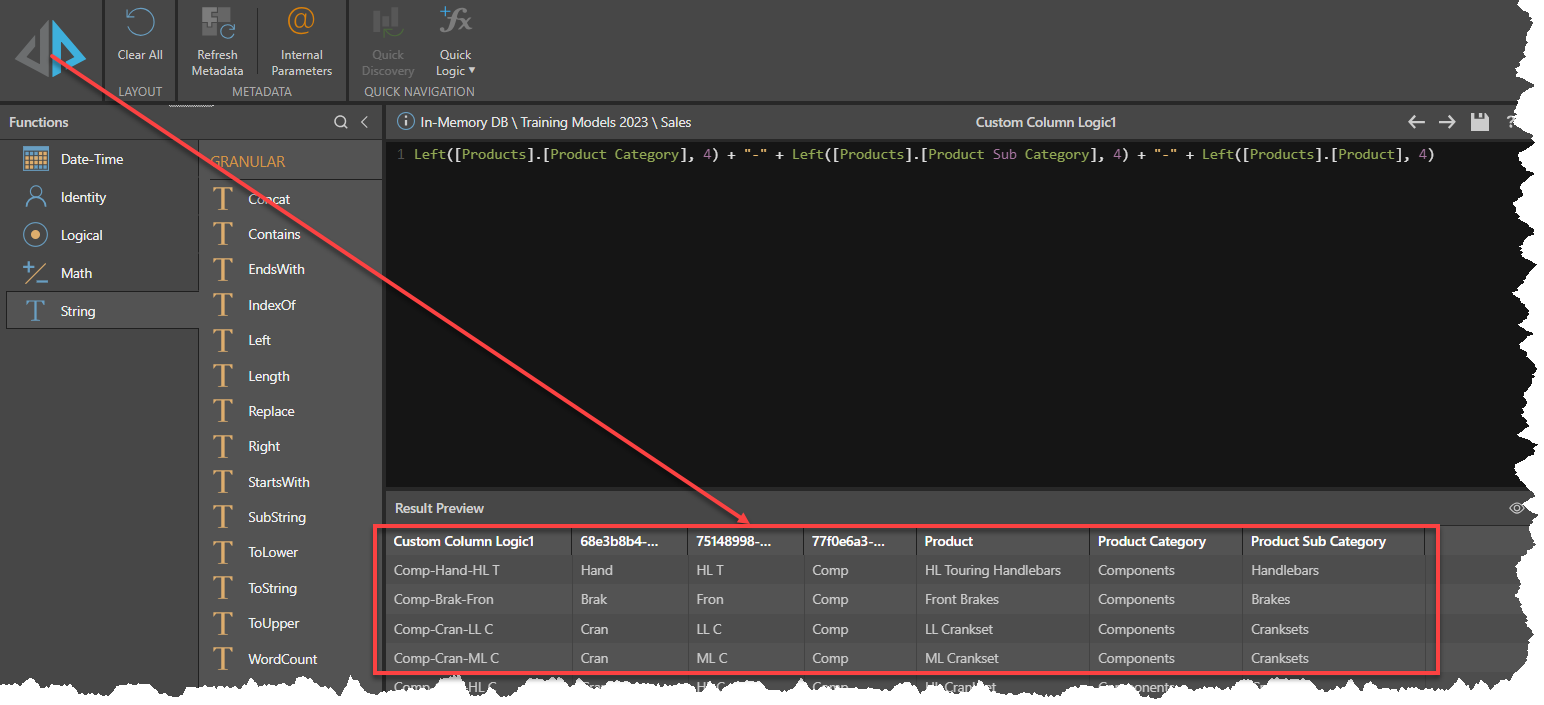
Test the logic by clicking on the large Pyramid icon top left hand corner. This will check the syntax is correct and execute the logic against a sample query. The results will appear in the Result Preview Panel.
Step 6
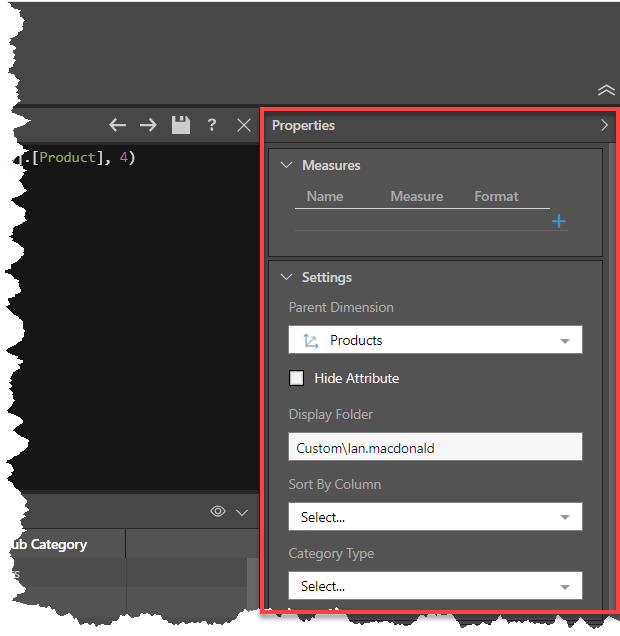
Once the logic has be ascertained to be correct, set the Measures and Properties Panel to the required values.
Step 7
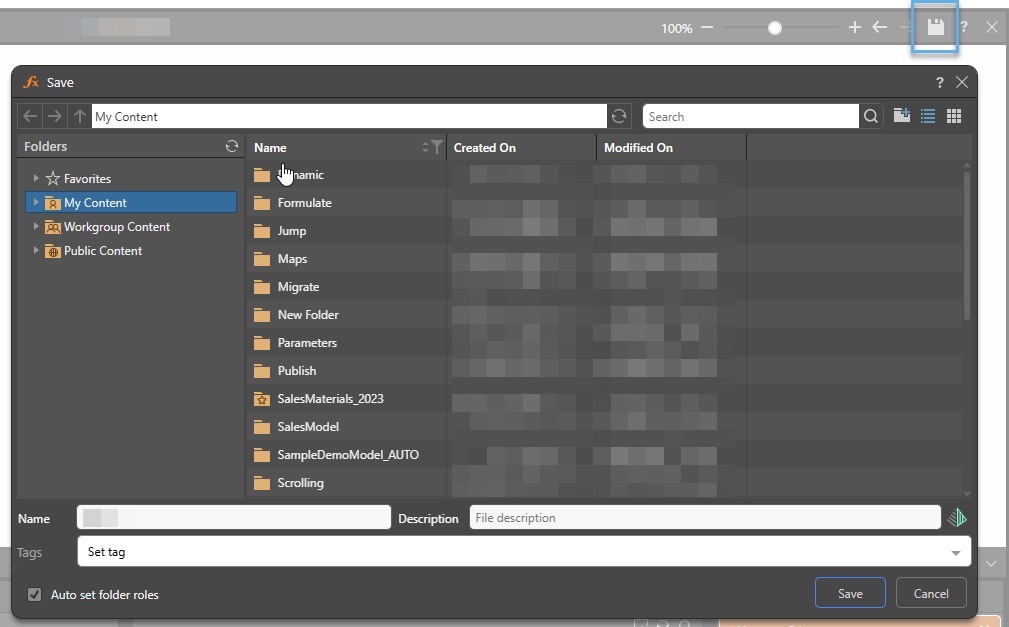
Click Save and save the new Custom Column to its desired location.
Step 8
Click Quick Discovery in the Ribbon to see the new custom column used in a Discover view.